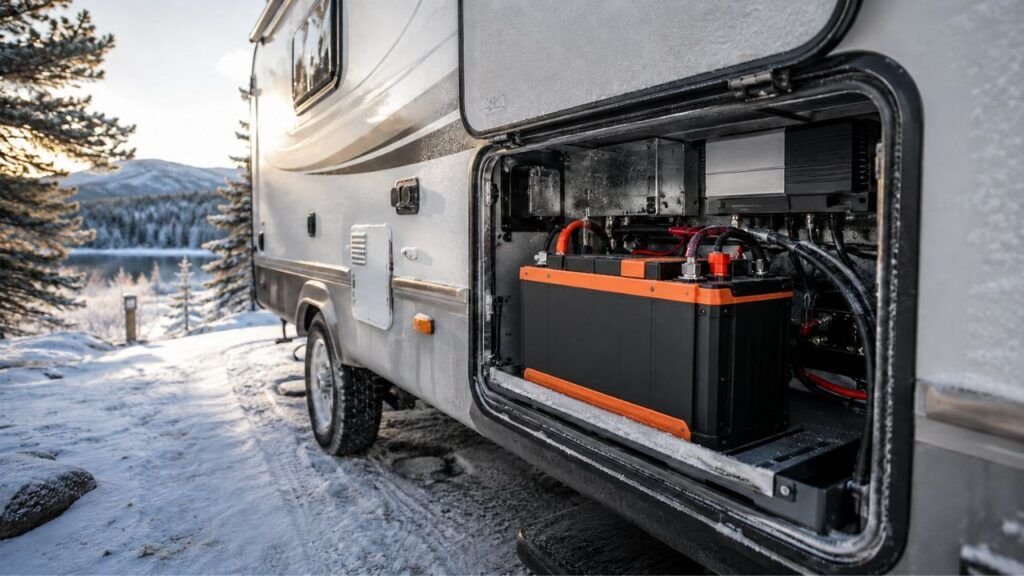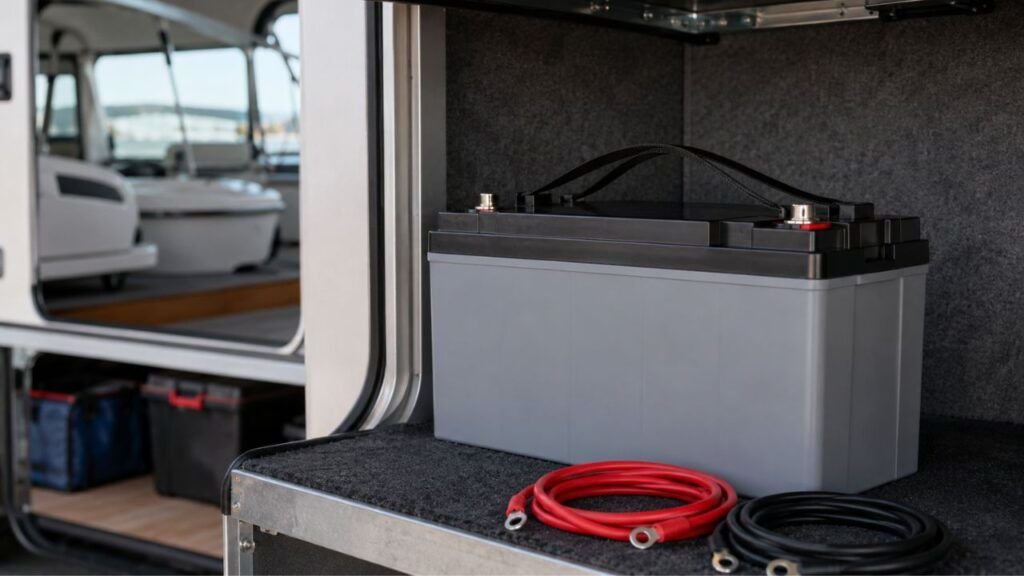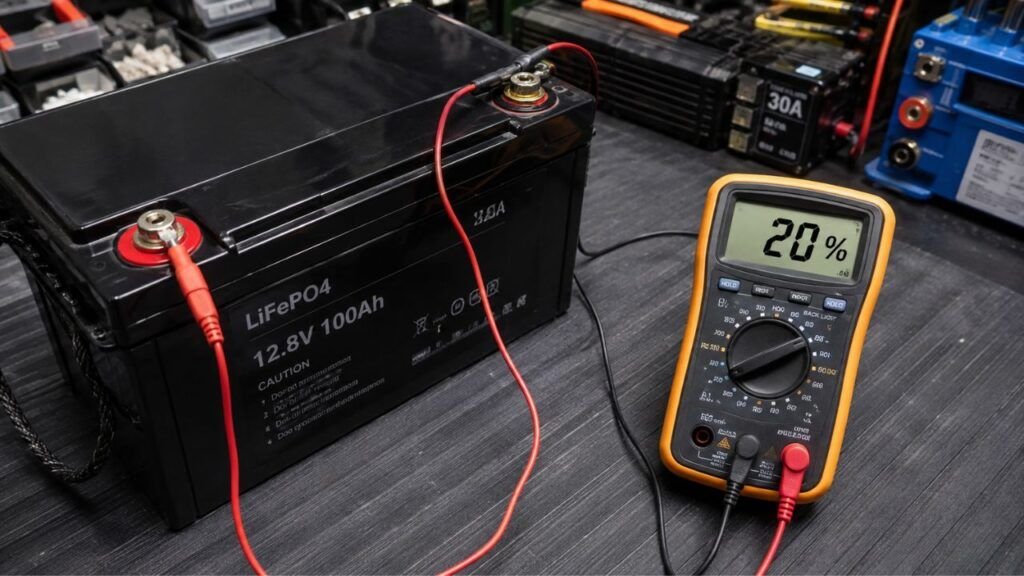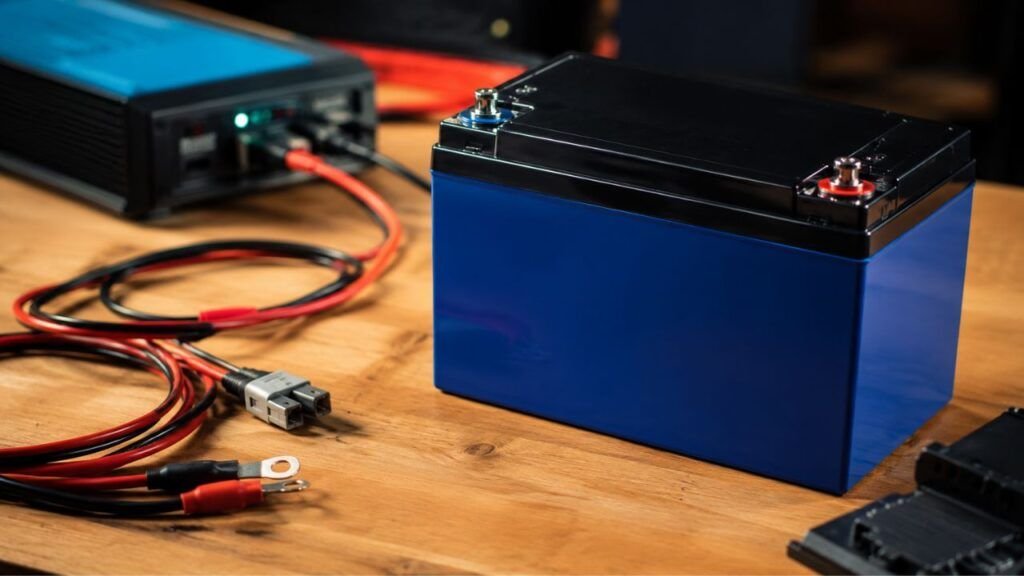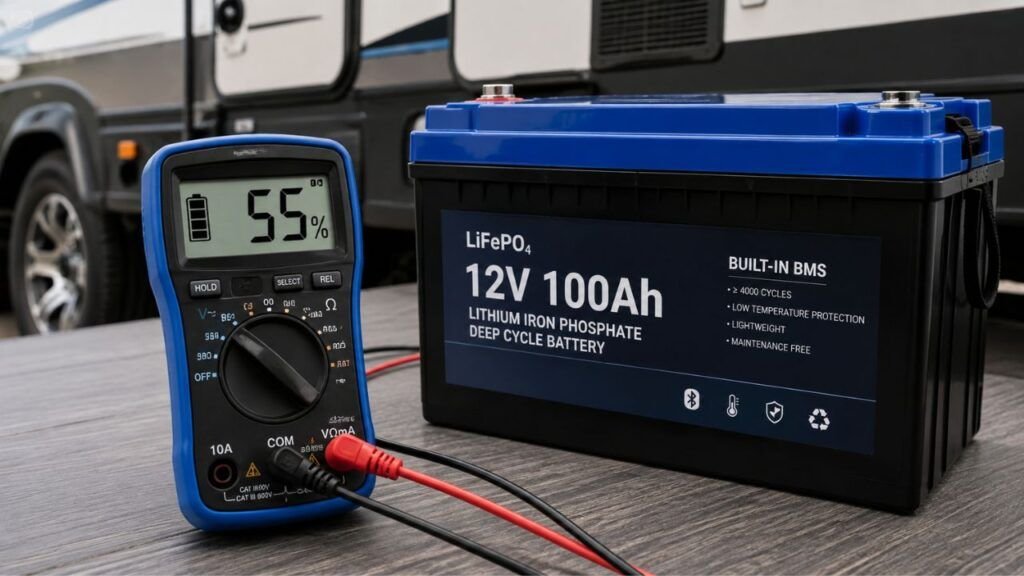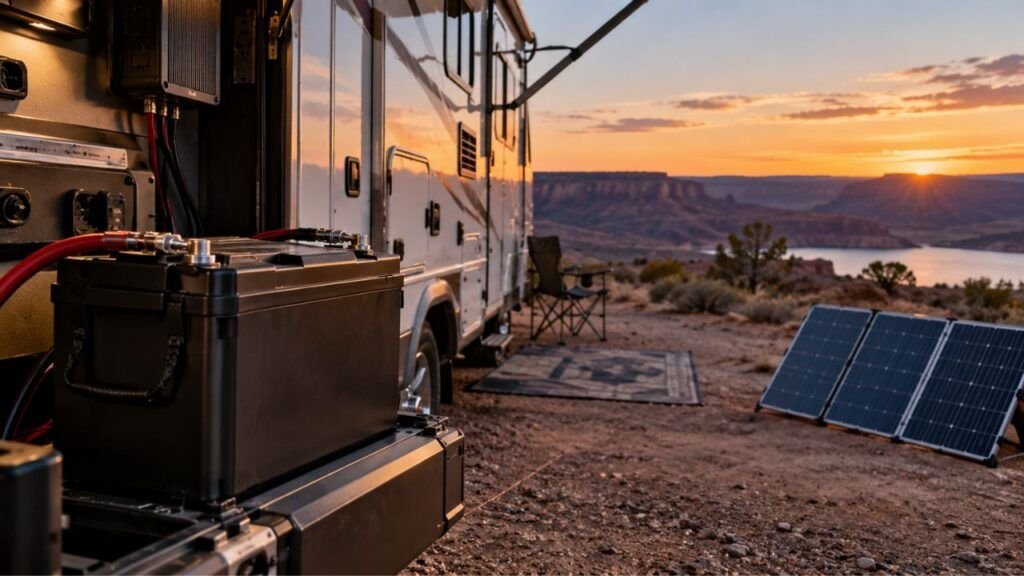
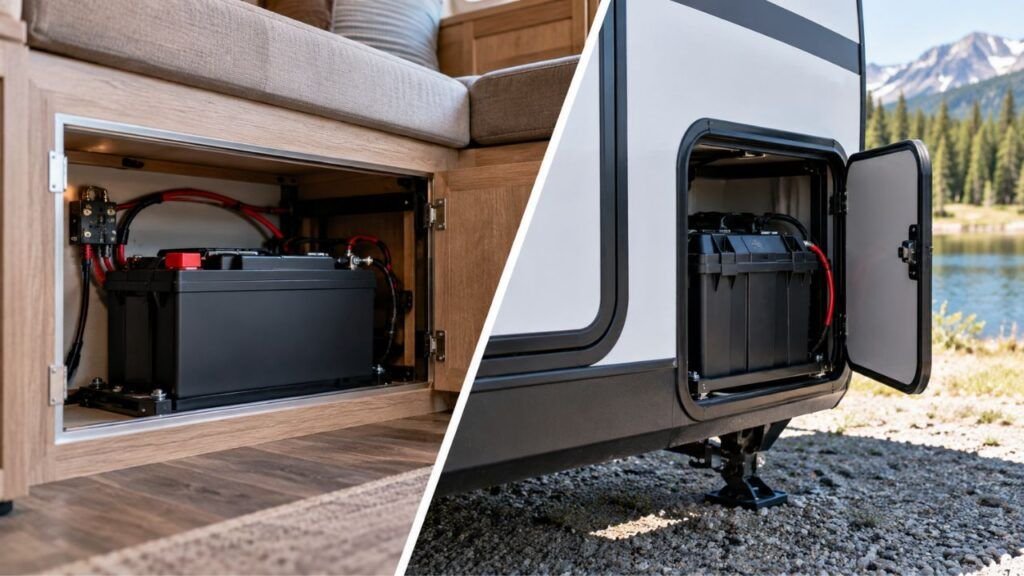
For most LiFePO4 RV batteries, an inside or protected temperature-stable compartment is usually the better location. It protects the battery from freezing temperatures, rain, road debris, and theft. However, an outside battery compartment can work very well when it is secure, weather-protected, properly ventilated for heat, and suitable for the battery manufacturer’s installation requirements.
In this guide, I’ll compare both locations in practical terms. We’ll look at temperature, safety, wiring, space, weather exposure, inverter placement, and common RV layouts so you can decide where your battery belongs.
Key Takeaways
- Inside RV battery locations usually provide better temperature stability.
- Outside compartments save valuable interior storage and living space.
- Cold-weather charging is a major concern with exterior LiFePO4 batteries.
- Exterior batteries need protection from water, debris, heat, and theft.
- LiFePO4 batteries do not normally produce hydrogen while charging.
- Short battery-to-inverter cables can reduce voltage drop and resistance.
- Always follow the installation limits for your specific battery model.
Lithium Battery Inside RV vs Outside Battery Compartment: Quick Comparison
Both locations can work when the installation is designed correctly. The main difference is which problems you would rather manage.
| Factor | Inside the RV | Outside Battery Compartment | Better Choice |
| Winter temperature | Usually more stable | More freezing exposure | Inside |
| Summer temperature | Easier to control | Can become very hot | Usually inside |
| Water protection | Excellent in dry areas | Depends on enclosure | Inside |
| Road debris | Very little exposure | More exposure | Inside |
| Living space | Uses interior space | Preserves interior space | Outside |
| Theft protection | Usually excellent | Depends on locks | Inside |
| Cable length | Often shorter | May require longer cables | Depends |
| Inverter placement | Often convenient | Layout dependent | Depends |
| Service access | Can be easy | Often easy | Depends |
| Separation from living area | Battery stays inside | Greater separation | Outside |
| Cold-weather charging | Easier to manage | Heating may be needed | Inside |
| Large battery banks | Can consume storage | May fit better outside | Depends |
Neither location automatically makes an installation safe or unsafe. The battery, enclosure, wiring, temperature, and mounting all matter together.
What Counts as an Inside or Outside RV Battery Location?
An inside battery does not necessarily sit openly in your living area. Most interior installations place the battery inside a protected storage space.
Common inside locations include under a dinette seat, under a bed, inside an electrical cabinet, or within an interior storage compartment.
An outside installation can also mean several different things. Your battery might sit inside an exterior-access storage compartment, tongue box, underfloor enclosure, or frame-mounted battery box.
This distinction matters.
A lithium battery inside a sealed and protected exterior compartment faces very different conditions from one sitting on an exposed trailer tongue.
When comparing inside versus outside placement, think about the actual environment surrounding the battery.
Why Installing a Lithium Battery Inside the RV Often Works Better
Interior installation has several practical advantages. Most relate to temperature control, weather protection, security, and electrical efficiency.
Better Temperature Stability in Cold Weather
Temperature is one of the strongest reasons to move lithium batteries indoors.
LiFePO4 batteries can usually discharge at temperatures below freezing. Charging them when the cells are too cold is another matter.
Many batteries have a Battery Management System, or BMS, that stops charging when cell temperatures become unsafe.
Keeping the battery inside your RV helps avoid that situation.
If your furnace keeps the living area comfortable, nearby battery compartments often remain considerably warmer than exterior boxes.
That can be especially useful if you camp in places like Colorado, Montana, Wyoming, Minnesota, or northern New England.
You may still need to check compartment temperatures during severe cold. However, interior placement generally makes winter battery management easier.
Shorter Battery-to-Inverter Cable Runs
Large RV inverters can pull substantial current from a 12-volt battery bank.
Long battery cables increase electrical resistance. That can cause additional voltage drop when the inverter is working hard.
Keeping your battery reasonably close to the inverter can help.
Shorter cable runs can offer:
- Lower voltage drop
- Less electrical resistance
- Reduced cable cost
- Easier installation
- Better high-current performance
This does not mean the battery should sit directly against your inverter.
Inverters generate heat and need airflow around them.
The goal is reasonable proximity without placing one component where heat from another becomes a problem.
Better Protection From Water, Dirt, and Road Debris
An interior battery avoids most environmental problems automatically.
It is unlikely to receive direct rain, tire spray, gravel, road salt, mud, or snow.
Those conditions become much more important underneath an RV or near the trailer tongue.
Even when the battery case itself resists water, electrical connections still need protection.
Battery terminals, busbars, fuses, and disconnect switches should remain clean and dry.
Interior placement makes that easier.
Better Theft Protection
Lithium batteries are expensive enough to attract unwanted attention.
A battery mounted openly on a trailer tongue is much easier to see.
Even a battery sitting inside a basic plastic box may remain accessible.
An interior battery hidden beneath a dinette, bed, or locked storage compartment is harder to reach.
If you store your trailer outdoors or use public campgrounds frequently, this can be a meaningful advantage.
Easier Battery Monitoring and Service
A well-designed interior installation can also make routine inspections easier.
You may need occasional access to:
- Battery terminals
- Main fuse
- Battery disconnect
- Bluetooth BMS information
- Battery monitor wiring
- Busbars
- Inverter connections
- Charging cables
You should not need to dismantle furniture every time something requires inspection.
Choose an interior location that remains accessible after everything is installed.
When Putting a Lithium Battery Inside the RV Is a Bad Idea
Inside placement is not automatically the right choice. A poorly selected interior compartment can create its own problems.
Avoid locations that:
- Sit directly beside a furnace or heating duct
- Receive heat from an inverter or charger
- Are vulnerable to plumbing leaks
- Frequently become wet from condensation
- Are packed with loose metal tools
- Make the battery difficult to inspect
- Allow cargo to touch exposed terminals
- Cannot support the battery securely
- Block important service panels
- Interfere with emergency exits
- Fall outside the battery’s temperature limits
- Violate the manufacturer’s installation instructions
Your battery should also be firmly restrained.
An RV battery experiences bumps, braking forces, vibration, and sudden movement.
It should not slide around inside a cabinet while you travel.
Why an Outside Battery Compartment Can Still Be the Better Choice
Outside installation remains completely practical for many RV owners. It can be especially useful when interior storage is limited.
It Keeps Battery Banks Out of Your Living Space
Battery capacity has grown considerably in modern RV systems.
A single lithium battery may be manageable inside a cabinet.
A large bank can become another story.
Two, three, or four batteries may consume an entire storage compartment.
For smaller trailers and camper vans, that space may be more valuable for clothing, food, tools, or camping equipment.
An exterior compartment keeps your battery system away from those areas.
It Provides Greater Separation From Occupied Space
Some owners simply prefer having the battery bank outside their sleeping area.
A dedicated exterior electrical compartment provides greater physical separation between the battery and occupied spaces.
That does not mean an interior LiFePO4 installation is inherently dangerous.
Properly designed LiFePO4 batteries include protective electronics and are commonly installed inside RVs.
Still, some owners value the extra separation an exterior compartment provides.
It Can Make Large Battery Banks Easier to Fit
High-capacity boondocking systems can require significant space.
A 400Ah or 600Ah battery bank may not fit conveniently under a small dinette.
A properly designed exterior storage bay can provide much more usable room.
It may also provide easier access to fuses, busbars, disconnects, and inverter equipment.
Just remember that more batteries also mean more weight.
That weight still affects your RV even when installed outside.
Existing RV Battery Compartments May Simplify an Upgrade
Your RV may already have a dedicated battery area.
Reusing that location can sometimes make an upgrade much easier.
Existing wiring may already run from that compartment toward your converter or electrical distribution system.
However, an existing battery compartment is not automatically suitable for every lithium battery.
Check:
- Battery dimensions
- Mounting requirements
- Weather exposure
- Temperature conditions
- Cable size
- Charging equipment
- Terminal protection
- Manufacturer instructions
The fact that a lead-acid battery previously lived there does not guarantee your lithium battery should.
The Biggest Problem With Outside Lithium Batteries: Cold Weather
Cold weather is usually the biggest concern with exterior LiFePO4 installations. The battery may still power your RV while cold, but charging requires more attention.
Why Cold Charging Can Damage LiFePO4 Cells
LiFePO4 chemistry does not respond well to charging when cell temperatures become too low.
Charging under unsuitable freezing conditions can cause internal lithium plating.
That may permanently reduce battery performance and lifespan.
The exact charging cutoff varies between manufacturers.
Do not assume every lithium battery uses exactly 32°F as its limit.
Some batteries allow different temperature ranges or manage charging automatically through their BMS.
Check your specific battery manual.
Low-Temperature BMS Cutoff
Many modern RV lithium batteries include low-temperature charging protection.
When the cells become too cold, the BMS blocks incoming charging current.
This protects the battery.
However, it can confuse owners.
You may see solar panels producing power while the battery refuses to charge.
Your converter might also appear to be working normally.
The battery may not be dead at all.
Its BMS may simply be waiting for the cells to warm up.
Once the temperature reaches an acceptable range, charging can usually resume.
Self-Heating Lithium Batteries
Heated lithium batteries are designed to solve this problem.
When charging power becomes available, internal heating elements warm the cells before normal charging begins.
Once the battery reaches a safe temperature, charging continues.
This can make an outside installation much more practical for winter travelers.
A heated battery may be worthwhile if you regularly camp below freezing.
It can also help when the battery stays inside an unheated exterior compartment.
However, heating requires energy.
If your battery is extremely cold and nearly empty, you still need enough incoming power to run the heating system.
Does Insulating the Outside Battery Box Solve the Problem?
Insulation helps, but it does not create heat.
An insulated battery box slows temperature changes.
That can keep a warm battery warmer for longer.
It can also reduce how quickly outside temperatures affect the cells.
But eventually, a battery sitting in prolonged freezing weather will become cold.
Insulation works best alongside another heat source.
That might include internal battery heaters or a properly designed compartment heating system.
Never place random heating devices beside a battery without considering fire and electrical safety.
Don’t Ignore Summer Heat in an Exterior Battery Compartment
Cold gets most of the attention, but excessive heat also matters.
A dark exterior battery box can become extremely hot under direct summer sunlight.
Underbody compartments can also receive heat from roads, exhaust components, generators, or nearby equipment.
High temperatures can accelerate battery aging.
They can also cause the BMS to limit or stop operation if temperatures become excessive.
Avoid placing batteries near:
- Furnace housings
- Generator exhaust systems
- Engine exhaust components
- Unventilated inverter compartments
- Heating ducts
- Areas receiving intense direct sunlight
- Other equipment producing constant heat
Interior installation does not automatically eliminate heat problems either.
A battery placed inside a tiny cabinet beside a large inverter may become hotter than expected.
Choose the coolest practical location allowed by the manufacturer.
Does a Lithium RV Battery Need Ventilation Inside the RV?
This question creates plenty of confusion because many RV owners learned battery rules using flooded lead-acid batteries. LiFePO4 batteries behave differently during normal operation.
LiFePO4 Does Not Behave Like Flooded Lead-Acid During Normal Charging
Flooded lead-acid batteries can release hydrogen gas while charging.
That is why traditional battery compartments require ventilation.
LiFePO4 batteries do not normally release hydrogen during routine charging.
That makes interior installation much easier.
Many modern RV systems place non-vented lithium batteries inside protected compartments.
However, the battery must actually be designed and approved for that installation.
Do not assume every battery carrying the word “lithium” has identical requirements.
No Hydrogen Venting Does Not Mean Install It Anywhere
A battery not producing hydrogen does not eliminate every installation concern.
You still need to consider:
- Heat buildup
- Secure mounting
- Terminal protection
- Short-circuit protection
- Fuse placement
- Moisture
- Physical damage
- Cable routing
- Service access
- Battery manufacturer instructions
Abnormal battery failures are also different from normal charging behavior.
A well-designed installation should reduce the consequences of either situation.
Don’t Apply Overseas Lithium Rules Directly to a U.S. RV
You may find Australian or New Zealand guides while researching RV lithium installations.
Those guides can contain excellent technical information.
However, their regulatory requirements do not automatically apply to American RVs.
Use U.S. RV standards, your manufacturer’s instructions, and qualified local guidance when necessary.
This is especially important when modifying factory electrical systems.
Current U.S. RV Battery Standards Matter
RV electrical requirements continue to evolve as lithium systems become more common.
That matters when moving batteries from their original factory location.
An installation involves more than finding an empty cabinet.
Battery mounting, overcurrent protection, cable routing, disconnects, charging equipment, and compartment design can all matter.
Manufacturer instructions should always be your starting point.
If you are making major changes to your RV electrical system, consider having the installation reviewed by a qualified RV electrical technician.
This becomes especially important with large battery banks and high-powered inverters.
Inside vs Outside Battery Location for a High-Power RV Inverter
Battery placement becomes more important as inverter power increases.
A small inverter powering a television does not draw the same current as a 3,000-watt inverter running kitchen appliances.
Large inverters can pull substantial current from a 12-volt battery bank.
Long cable runs can increase voltage drop and require heavier copper conductors.
That adds cost and installation complexity.
For high-power systems, think of these components as one system:
- Battery bank
- Main fuse
- Battery disconnect
- Busbars
- Inverter
- Charging equipment
You do not need everything packed into one tiny compartment.
You do want sensible distances between high-current components.
If moving your battery outside adds many feet of heavy cable, reconsider whether the extra distance is worthwhile.
How Battery Location Affects RV Weight Distribution
Battery placement can also change how your RV carries weight. This becomes more important as battery banks become larger.
Travel Trailers
Travel trailers are especially sensitive to tongue weight.
Putting several batteries on the trailer tongue adds weight ahead of the axles.
Moving batteries farther back reduces tongue weight instead.
Neither change should be made blindly.
Too much tongue weight can overload your tow vehicle or hitch components.
Too little can reduce trailer stability.
If you relocate a large battery bank, recalculate your loaded weights.
Fifth Wheels
Fifth wheels often have large front storage compartments.
Those areas can be convenient for lithium battery installations.
However, battery weight added near the front contributes to pin weight.
A large battery upgrade may therefore affect truck payload limits.
Again, weigh the fully loaded combination instead of relying on estimates.
Motorhomes and Camper Vans
Motorhomes and vans have different loading concerns.
Heavy components may already sit near one axle.
These can include water tanks, generators, appliances, and fuel tanks.
Adding several batteries to the same area can create uneven axle loading.
Choose a location that works electrically without ignoring vehicle weight limits.
Best Lithium Battery Location by RV Use
Your camping habits can make one location clearly more practical. Here is how I would think about the decision for common RV situations.
For Four-Season and Winter Camping
I would strongly favor a temperature-protected location.
An interior compartment makes winter charging much easier.
A heated exterior battery can also work very well.
If you camp below freezing regularly, temperature management should be one of your top priorities.
For Warm-Weather RVing
Exterior installation becomes easier when freezing temperatures are rarely encountered.
You still need to consider summer heat.
A protected exterior compartment with shade and appropriate airflow can work well.
Make sure rain and road spray cannot reach electrical connections.
For Boondocking With a Large Inverter
Boondockers often have larger battery banks and stronger inverters.
In this case, electrical layout becomes especially important.
Keep the battery reasonably close to the inverter.
You also need enough room for fuses, busbars, cables, and disconnects.
An exterior pass-through compartment may offer more space than a small interior cabinet.
For Weekend Campers With a Small Battery Bank
A simple 100Ah or 200Ah lithium setup gives you more flexibility.
You may not gain enough from relocation to justify major modifications.
If your existing compartment is protected and manufacturer-approved, keeping the battery there may be easiest.
For Small Campers With Limited Interior Storage
Small campers often need every inch of interior storage.
An exterior battery compartment can make sense here.
Just make sure you’re not trading storage space for constant temperature problems.
A heated battery can help if you travel during winter.
Can You Move an RV Lithium Battery From Outside to Inside?
Yes, moving an RV lithium battery indoors is often possible.
But treat the relocation as an electrical-system modification rather than a furniture project.
Before moving the battery, check:
- Battery manufacturer installation instructions
- Approved mounting orientation
- Operating temperature range
- Low-temperature charging protection
- BMS features
- Charger compatibility
- Cable length
- Cable size
- Main fuse location
- Battery disconnect
- Terminal protection
- Mounting strength
- Compartment moisture
- Heat exposure
- Inverter location
- Weight distribution
- Future service access
Do not simply extend the old battery cables and call the project finished.
Longer cable runs may require different conductor sizes.
Moving the battery can also change where your main overcurrent protection should be placed.
Can You Reuse an Old Lead-Acid Battery Compartment for Lithium?
Often, yes.
A lithium battery may fit perfectly where your old lead-acid battery lived.
That can make the conversion much easier.
However, inspect the compartment rather than assuming it is suitable.
Check whether the area stays dry.
Look for road spray entering through openings.
Check how hot or cold the compartment becomes.
Make sure the lithium battery can be secured properly.
You should also check your existing charger or converter.
Older RV charging equipment may not provide the charging profile recommended for your lithium battery.
Cable condition matters too.
A new battery with higher current capability can expose weak connections that were less obvious with an older battery.
The compartment, charger, wiring, fuse, and battery should work together.
Where You Should Not Mount an RV Lithium Battery
Some locations create unnecessary problems regardless of whether they are technically inside or outside.
Avoid mounting the battery:
- Directly beside a furnace
- Near exhaust components
- Where plumbing regularly leaks
- Beneath areas prone to water intrusion
- On an unprotected underbody tray
- Where tires throw water and rocks
- Inside compartments containing loose metal objects
- Where terminals can contact stored cargo
- Where inspection becomes difficult
- Where secure mounting is impossible
- Where heat regularly exceeds battery limits
- Where charging temperatures fall below allowed limits
- Where the battery manufacturer prohibits installation
- Where cables become unnecessarily long
- Where emergency equipment or exits become obstructed
The best location is usually boring.
It should be dry, secure, cool, accessible, and electrically convenient.
Inside or Outside: Which Lithium Battery Location Should You Choose?
Both arrangements can work. Your climate and RV layout usually make the decision easier.
Choose an Inside Location If:
- You regularly camp below freezing.
- You want better temperature stability.
- Your RV has suitable unused interior storage.
- Theft is a concern.
- You want better protection from road spray.
- Your inverter is already inside nearby.
- The battery manufacturer allows interior installation.
Choose an Outside Compartment If:
- Interior storage is limited.
- Your RV already has a suitable exterior battery bay.
- The battery is protected from rain and road debris.
- Cold charging protection is already handled.
- You use a self-heating lithium battery.
- The compartment remains within allowed temperature limits.
- You prefer greater separation from occupied areas.
- The battery can be locked securely.
For most four-season RV owners, I prefer a protected, temperature-stable compartment.
That could be inside the RV or within a well-designed exterior storage bay.
The key is controlling the battery’s environment.
RV Lithium Battery Location Checklist
Before permanently installing your lithium battery, run through this checklist.
- Confirm the exact battery chemistry.
- Read the manufacturer’s installation instructions.
- Check minimum charging temperature.
- Check maximum operating temperature.
- Confirm low-temperature BMS protection.
- Verify whether the battery includes heating.
- Keep the compartment dry.
- Protect outside installations from road spray.
- Protect terminals from accidental contact.
- Secure the battery against movement.
- Install appropriate overcurrent protection.
- Include an accessible battery disconnect.
- Use properly sized battery cables.
- Avoid unnecessarily long inverter cable runs.
- Keep batteries away from heat sources.
- Consider inverter heat and ventilation.
- Maintain access for inspection.
- Check RV weight distribution.
- Secure exterior installations against theft.
- Confirm charger and converter compatibility.
Final Verdict
For most RV owners using LiFePO4 batteries, an inside or protected temperature-controlled compartment is usually the easiest location to live with.
You get better protection from freezing weather, rain, road debris, and theft. Interior placement can also make short high-current cable runs easier when your inverter is nearby.
That does not make an outside battery compartment a poor choice.
A properly designed exterior compartment can work extremely well, especially when you need to preserve interior storage.
The important part is how that compartment is designed.
It should protect the battery from water, impact, extreme temperatures, and unauthorized access.
Winter campers should pay especially close attention to charging temperature.
A heated battery or well-designed temperature-controlled compartment can make exterior installation far more practical.
So, I would not choose based only on “inside versus outside.”
I would choose the location that keeps the battery dry, secure, properly restrained, within its operating temperature limits, and reasonably close to high-current electrical equipment.
That is usually the location that causes the fewest problems later.
Related FAQs
These are some common questions RV owners ask when deciding where to install a lithium battery.
Can I Put a Lithium Battery Inside My RV?
Yes, many LiFePO4 batteries can be installed inside an RV when the manufacturer allows it. Choose a dry, secure location away from excessive heat, water leaks, exposed terminals, and physical damage.
Is It Safe to Put a LiFePO4 Battery Under an RV Bed?
It can be safe when the battery manufacturer allows interior installation and the battery is securely mounted. Keep the compartment dry, accessible, protected from stored metal objects, and away from heating equipment.
Do Lithium RV Batteries Need a Vented Battery Box?
LiFePO4 batteries do not normally release hydrogen during routine charging like flooded lead-acid batteries. However, you must still follow the battery manufacturer’s requirements for enclosure design, heat dissipation, mounting, and installation.
Can a Lithium RV Battery Stay Outside All Winter?
It can remain outside if temperatures stay within the battery’s storage specifications. Charging is the bigger concern because many LiFePO4 batteries restrict charging when cell temperatures become too cold.
Should a Heated Lithium Battery Be Kept Outside?
A heated lithium battery can make exterior installation much more practical in cold climates. You still need a secure, dry enclosure that protects the battery from water, road debris, excessive heat, and physical damage.
Can I Put a Lithium Battery on My Travel Trailer Tongue?
Yes, provided the battery is approved for the environment and properly protected. Consider weather exposure, theft, temperature, secure mounting, cable length, and the additional effect on trailer tongue weight.
Can I Move My RV Battery From the Tongue to Inside?
Usually, yes, if your battery supports interior installation. Check cable sizing, fusing, secure mounting, charger compatibility, temperature limits, weight distribution, and the manufacturer’s instructions before relocating it.
Does Battery Location Affect RV Inverter Performance?
It can. Long battery-to-inverter cable runs create additional resistance and voltage drop. High-power inverters generally benefit from reasonably short, correctly sized DC cable runs.
Should an RV Lithium Battery Be in a Sealed Box?
Not necessarily. The enclosure should protect the battery without creating excessive heat buildup or violating manufacturer requirements. Exterior installations also need suitable protection against water, dirt, and road debris.
Can an RV Lithium Battery Get Wet?
You should avoid exposing lithium batteries and their electrical connections to water unless the battery and installation are specifically rated for those conditions. A protected, dry compartment is always preferable.
Does an Outside Lithium Battery Need Insulation?
Insulation can help slow temperature changes, especially during winter. However, insulation does not generate heat, so very cold conditions may still require a heated battery or another approved temperature-management method.
Can I Use My Existing Lead-Acid Battery Box for Lithium?
Possibly, but check more than physical fit. The compartment must provide suitable temperature control, weather protection, secure mounting, proper wiring, and conditions allowed by your lithium battery manufacturer.

Ryan Carter writes practical battery guides focused on troubleshooting, everyday use, and smarter buying decisions. His experience with lithium batteries, RV and automotive power, and home backup systems helps readers choose reliable solutions with confidence.